
Are you looking for a command-line utility to take screenshots on Linux? It would be best if you gave Scrot a try. It is a simple and flexible tool to take screenshots of a specific window, terminal, or entire desktop by simply entering commands. It has some of the interesting features which can’t find even on gnome-screenshot utility. Apart from supporting different image formats, it uses the ‘imlib2‘ library documentation to grab and save screenshots. With the switch option, you can screenshot both the full screen and particular area of the screen. Apart from that, you can also set an image quality level while taking the screenshots. Get it into the section to know more about this command-line screen capture utility.
Install and Take Screenshots with Scrot
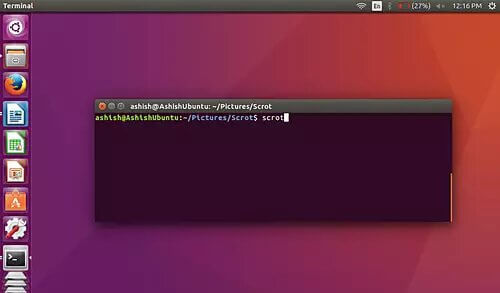
Scrot is a pre-installed tool on Ubuntu, and you can install this utility on any Linux distributions. Install the tool by simply entering the following command on the terminal:
sudo apt-get install scrot
You can also get the app from GitHub.
If you want to install it from source code, enter the following command:
wget http://linuxbrit.co.uk/downloads/scrot-0.8.tar.gz
tar -xvf scrot-0.8.tar.gz
cd /scrot-0.8
./configure
make
su -c “make install”
Capture Current Window
To capture the currently focused window, use the -u command.
scrot -u [filename]

*filename represents the name of the screenshot which you want to save. If you haven’t entered the filename and destination, the screenshot will be saved on the default directory.
Capture Entire Desktop
To capture the entire desktop, enter the following command on the terminal.
scrot [filename]
Capture Selected Area
In order to capture the selected desktop area, type the following command and hit the enter key.
scrot -s [filename]
Drag the mouse and select your desired area.
Delay the Screenshot Timing
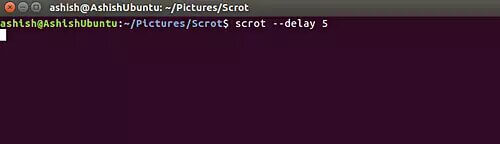
The tool also supports taking screenshots with the delayed time. For that, you need to use the following command.
scrot –d [num]
Instead of num, enter the number of seconds that you want. For example, if you want to take screenshots with a 5-seconds delay, enter scrot –d 5. You can delay the screenshots for up to 8 seconds.
If you want to display the countdown before capturing the screen, add -c to your command.
scrot –d [num] -c
Change Image Quality
By default, the image quality level on this utility is set to 75. With the help of -q switch, you can change the level from 1 to 100. Depending on the quality and image format, the output file size will vary.
For example, if you want to take a screenshot with 80% quality, enter:
scrot -q [filename]
Customize the Screenshot
After taking screenshots, you can execute various functions on the saved screenshots. For this, you need to use the -e command. For example, if you want to edit the screenshot on tools like gthumb, you have to enter
scrot 123.jpg -e ‘gthumb 123.jpg’
Note – 123.jpg represents the name of the screenshot along with the extension.
The image will open on the gthumb editor, and you can customize it according to your convenience.
Related: CleanShot – Ultimate Screen Capturing Tool for Mac
Other Useful Commands on Scrot
Apart from the above-mentioned commands, the tool also supports the following commands for additional features.
| -b | grab the window border while taking screenshots |
| -t | screenshot the window and generate a thumbnail for the image |
| -v | check the version of the app |
| -m | grab the screenshots from multiple windows and join them together |
| -s | use your mouse to select the window or rectangle |
| -f | freeze the screen while using -s command |
| -n | draw a text note |
| -p | screenshot the mouse pointer |
Visit this support page to explore more commands and special strings.
Is Scrot Worth Trying?
Yes. Scrot utility is very easy to install all Linux distributions, and all types of users, including the beginners, can access this tool. Despite being a simple application, it presents all the features to get the job done. Install it on your Linux computer and mention your feedback.